Follow Me On Social Media!


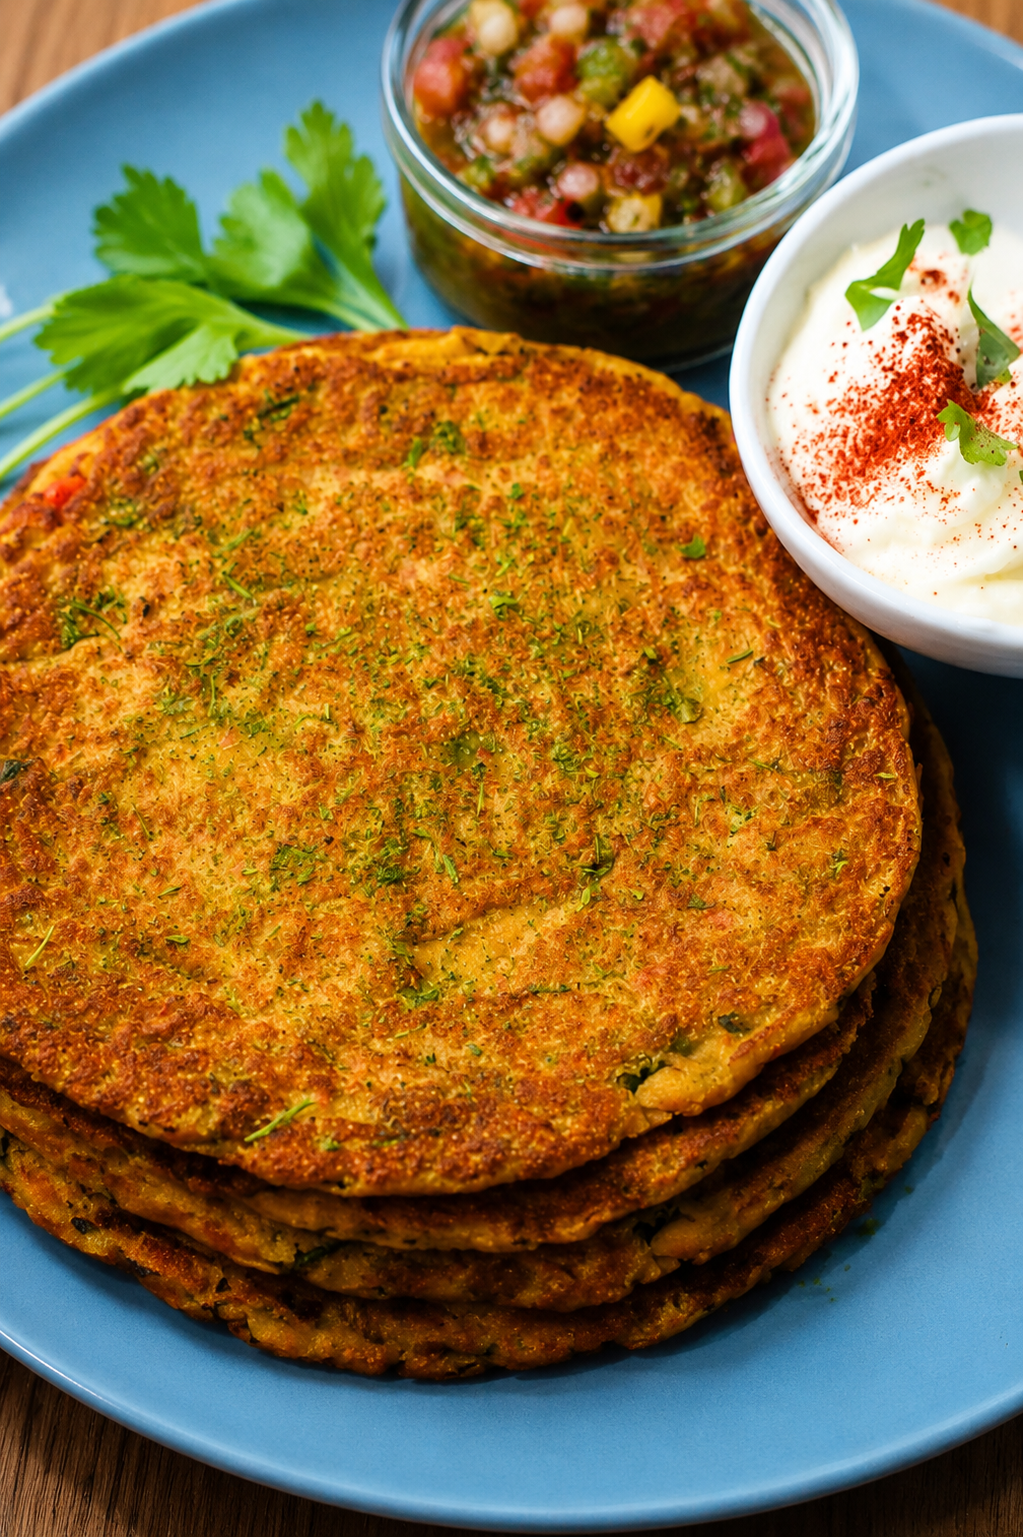
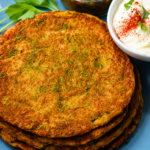
Crispy, savory, and brimming with plant-based protein, this Gluten-Free Chickpea Chilla Recipe (savory Indian chickpea pancakes or Kabuli Chana Chilla) offers an irresistibly wholesome alternative to traditional breakfast crepes and flatbreads. Made by blending soaked whole dried chickpeas with ginger, gram flour, crisp rice flour, creamy coconut milk, and colorful finely diced vegetables, these golden pancakes cook up delightfully crunchy on the edges while remaining soft and tender in the center. Unlike heavy processed wraps, these savory pancakes are 100% naturally vegan and gluten-free. Ready in 35 minutes and finished with an aromatic mustard-cumin tempering, they make an energizing breakfast, lunch, or light dinner paired with cool yogurt and fresh chutney.
In traditional Indian home cooking, chilla (or cheela) is a beloved quick pancake made from ground lentils or grain flours. While many modern recipes rely solely on chickpea flour (besan), this recipe elevates both texture and nutritional density by blending whole, hydrated chickpeas (Kabuli Chana). When dried chickpeas are soaked overnight, their native starches remain ungelatinized and their natural fiber matrix stays intact. Upon blending with a splash of water and coconut milk, they form a structured, resilient batter that holds together effortlessly on the skillet.
In contrast, canned cooked chickpeas are already fully softened and water-logged; blending them creates a mushy puree that falls apart upon flipping. Combined with a touch of rice flour for crispiness, gram flour for binding, and activated baking soda with fresh lemon juice for airy lightness, these chillas deliver an unbeatable golden crust with vibrant confetti-like specks of onions, bell peppers, and fresh cilantro.
Table of Contents
- What Is Chickpea Chilla?
- Why You’ll Love This Recipe
- How to Make Chickpea Chilla
- The Chef’s Secret to Structural Stability & Maximum Crispiness
- What to Serve With Chickpea Chilla
- Top Tips for Foolproof, Non-Stick Chillas
- Storing and Reheating Guidelines
- Frequently Asked Questions
- Gluten-Free Chickpea Chilla Recipe Card & Cooking Summary
- A Golden Crispy Superfood Pancake for Any Time of Day
What Is Chickpea Chilla?
Chickpea Chilla (also known as Kabuli Chana Puda or Savory Chickpea Crepes) is an ancient Indian savory flatbread-pancake hybrid. Unlike sweet breakfast pancakes made with refined wheat flour, eggs, and sugar, chillas are entirely savory, packed with whole legume protein, and seasoned with digestive spices:
- Soaked Whole Chickpea Base: Raw dried chickpeas soaked for 8–10 hours, creating a nutrient-dense whole-food batter with unmatched structural integrity.
- Dual Flour Synergy: A balanced blend of gram flour (besan) for rich earthy binding and rice flour for a shatteringly crisp exterior.
- Coconut Milk & Aromatics: Thick coconut milk adds silky moisture without dairy, while fresh ginger, green chilies, and a crackling mustard-cumin tadka deliver bold regional flavor.
- Fresh Vegetable Confetti: Finely diced red bell peppers, yellow onions, and cilantro folded into the batter provide natural sweetness and refreshing crunch.
Whether served for a quick weekend breakfast, packed into a school or work lunchbox, or rolled up as a nutritious wrap with salad and yogurt, these chillas offer guilt-free comfort and long-lasting satiety.
Why You’ll Love This Recipe
Here is why this gluten-free chickpea chilla is a game-changer for your healthy meal routine:
- 100% Naturally Gluten-Free & Vegan: Free from wheat, dairy, eggs, soy, and artificial gums.
- High in Plant Protein & Prebiotic Fiber: Keeps blood sugar steady and provides sustained morning energy.
- Superior Crisp Texture: Raw chickpea starches and rice flour combine to create crispy lacy edges that won’t turn soggy.
- Endlessly Customizable: Swap in grated carrots, zucchini, chopped spinach, or fresh mint according to what is in your crisper drawer.
- Make-Ahead Friendly: Blend the batter ahead of time and store in the fridge for instant 5-minute hot breakfasts.
- Effortless 20-Minute Cook Time: Cooked easily in a standard non-stick skillet with just a light brush of oil.
How to Make Chickpea Chilla
Creating these golden savory crepes requires just soaking, blending, resting, and pan-frying. Review the quick recipe overview, ingredient functions, and detailed photo tutorial below before starting.
Quick Overview
- Prep Time: 15 minutes (+ 8 hours soaking)
- Cook Time: 20 minutes
- Total Active Time: 35 minutes
- Servings: 4 to 5 servings (makes ~6–8 chillas)
- Difficulty: Easy
- Cuisine: Indian / Modern Plant-Based
- Course: Breakfast / Lunch / Snack / Light Dinner
Key Ingredients & Flavor Roles
- Dried Chickpeas (1 cup / 200g): Must be whole dried chickpeas soaked overnight; raw starches provide vital structural stability.
- Fresh Ginger (1 small piece) & Green Chili (1 chili): Imparts zesty heat and digestive warmth.
- Gram Flour / Besan (3 tbsp): Deepens nutty flavor and helps emulsify the chickpea puree.
- Rice Flour (3 tbsp): The secret weapon that guarantees golden crisp edges. (Cornstarch can substitute).
- Thick Coconut Milk (¼ cup) & Water (½ cup): Adds subtle richness and controls batter consistency.
- Turmeric Powder (¼ tsp) & Salt (1 tsp): Provides golden sunshine color and savory balance.
- Baking Soda (¼ tsp) + Lemon Juice (¼ tsp): Reacts instantly to create microscopic air pockets, ensuring a tender, fluffy interior.
- Finely Chopped Vegetables: 1 small onion, red bell pepper, and fresh cilantro for texture and flavor contrast.
- Aromatic Tadka (2 tsp oil, ½ tsp mustard seeds, ½ tsp cumin seeds): Sizzled in oil and stirred into batter for nutty crunch.
Step-by-Step Cooking Instructions
Follow these numbered steps with matching process photos for crispy, golden chickpea chillas every single time.
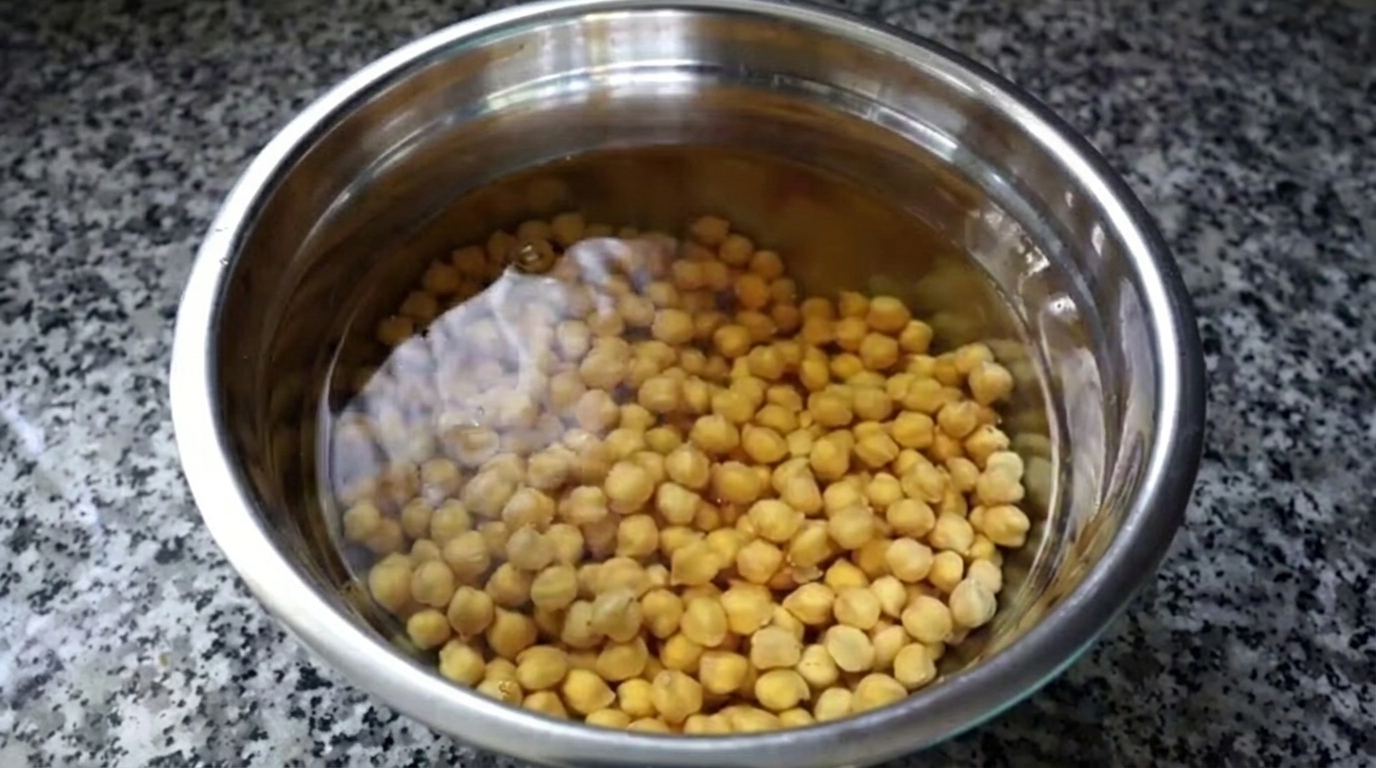
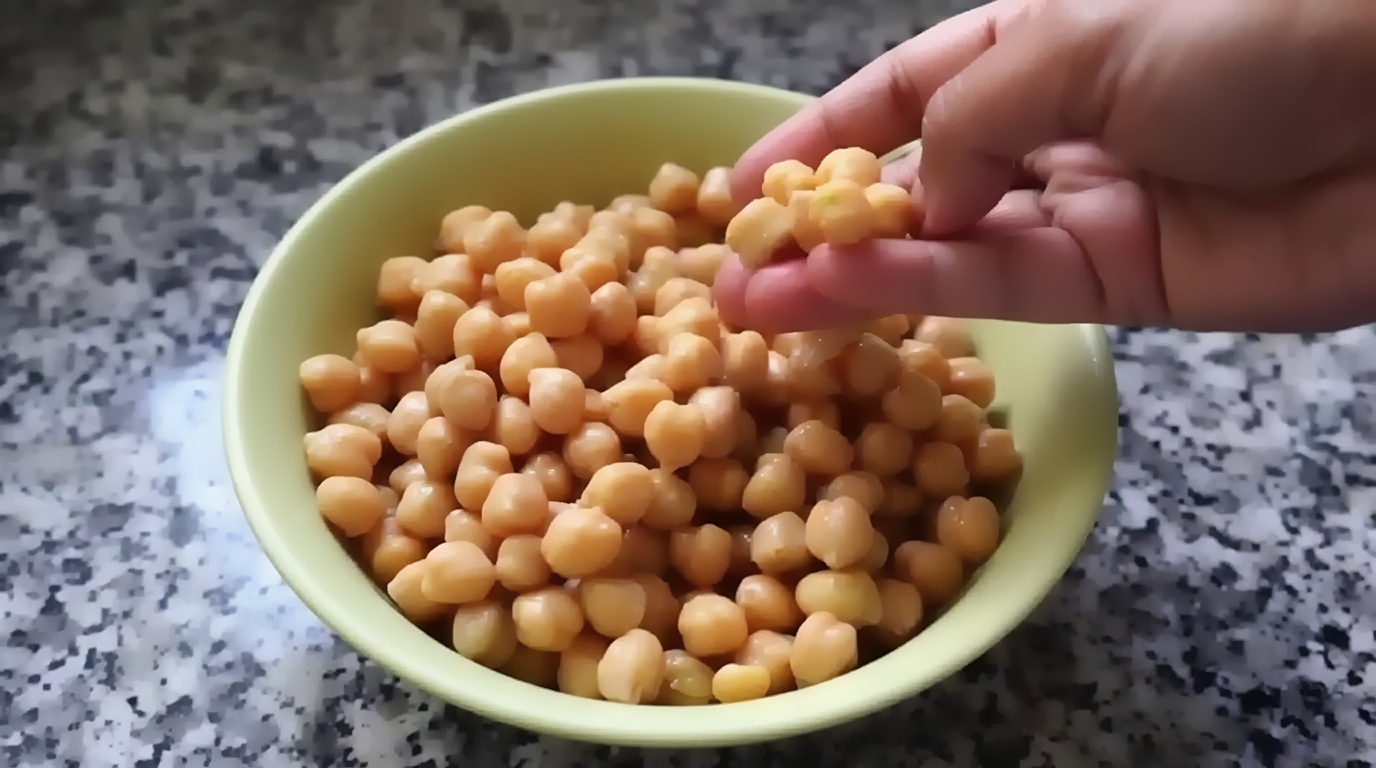
Step 1: Place 1 cup of dried chickpeas in a large bowl, cover generously with water, and soak for 8 to 10 hours or overnight.
Step 2: Drain all soaking water and rinse the plumped chickpeas thoroughly under cold running water.
Step 3: Transfer the drained chickpeas to a blender. Add fresh ginger, chopped green chili, 3 tbsp gram flour, and 3 tbsp rice flour.
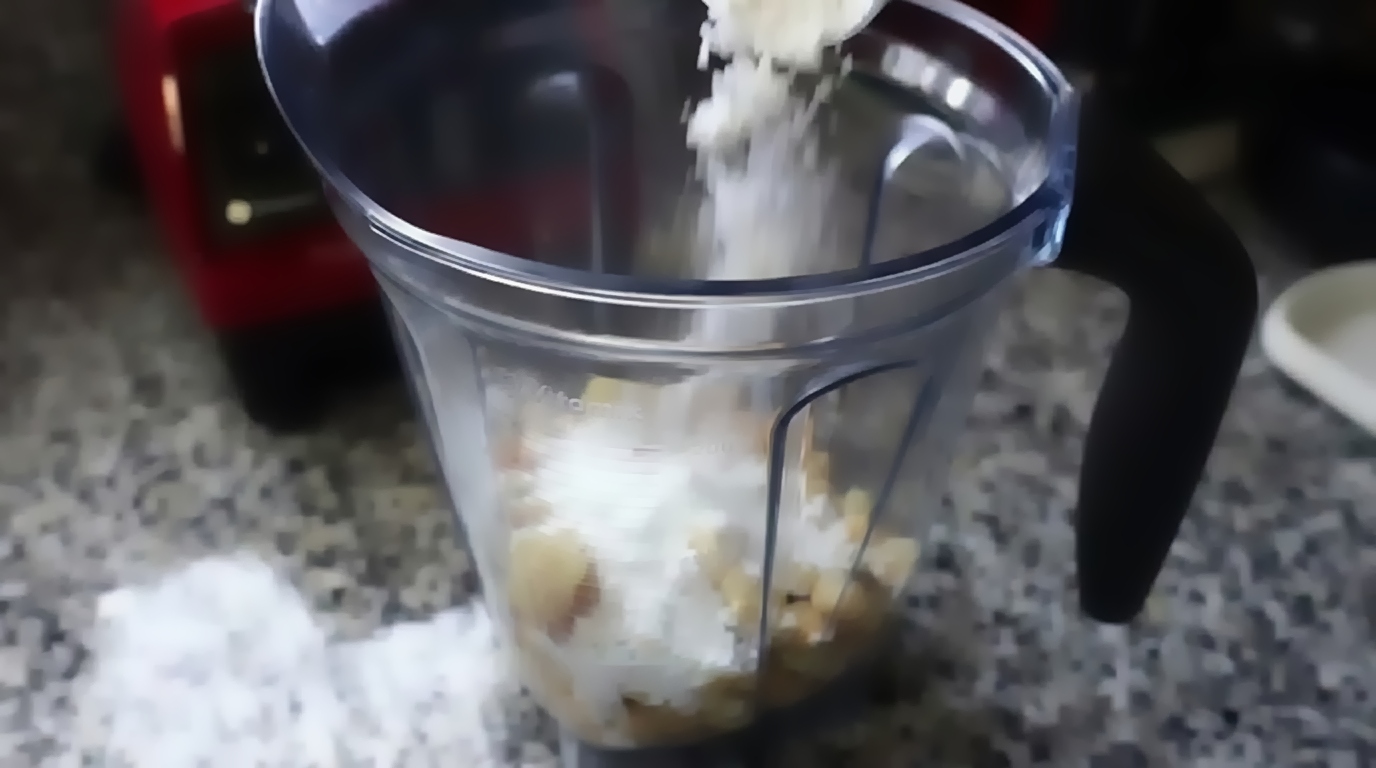
Step 4: Pour in ¼ cup thick coconut milk, ½ cup water, and 1 tsp salt.
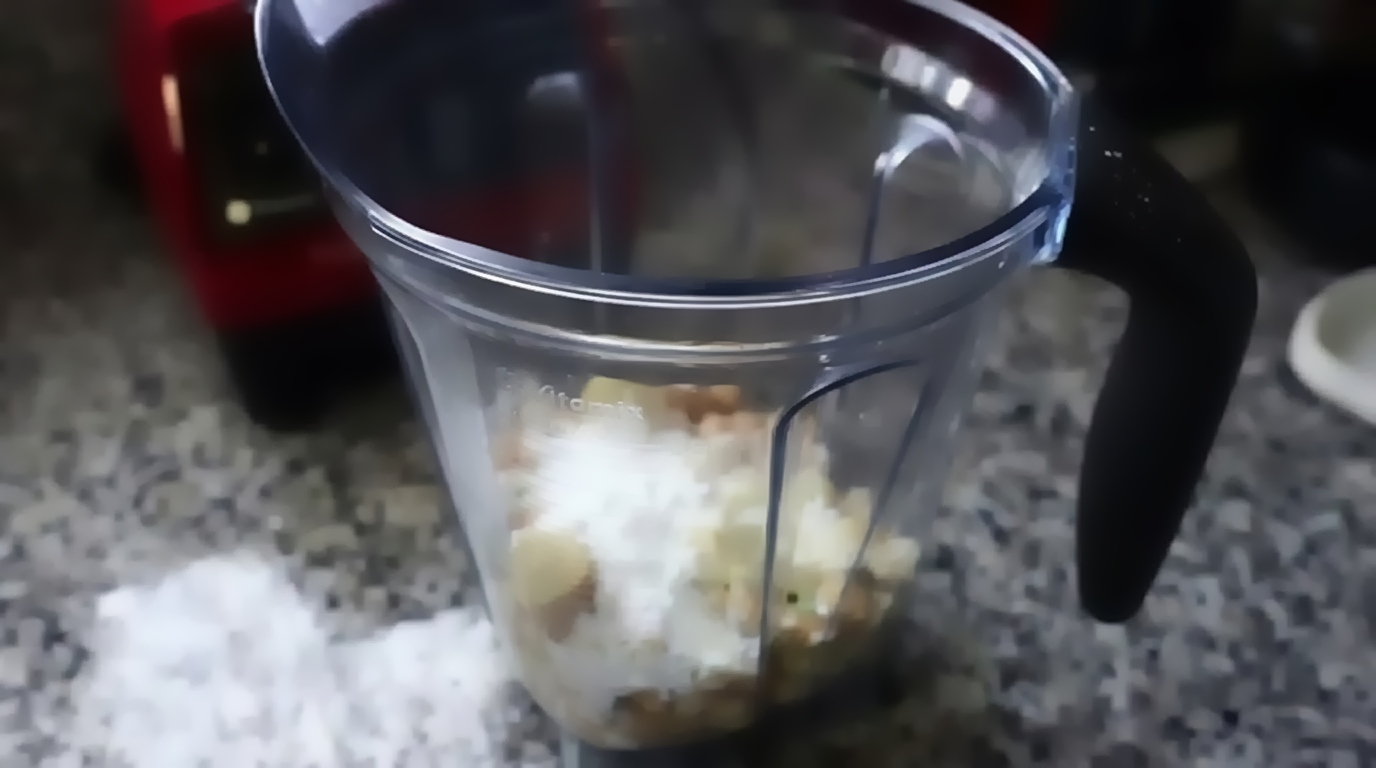
Step 5: Blend on high speed until you achieve a silky smooth, pourable pancake batter (add 1–2 tbsp water if too thick).
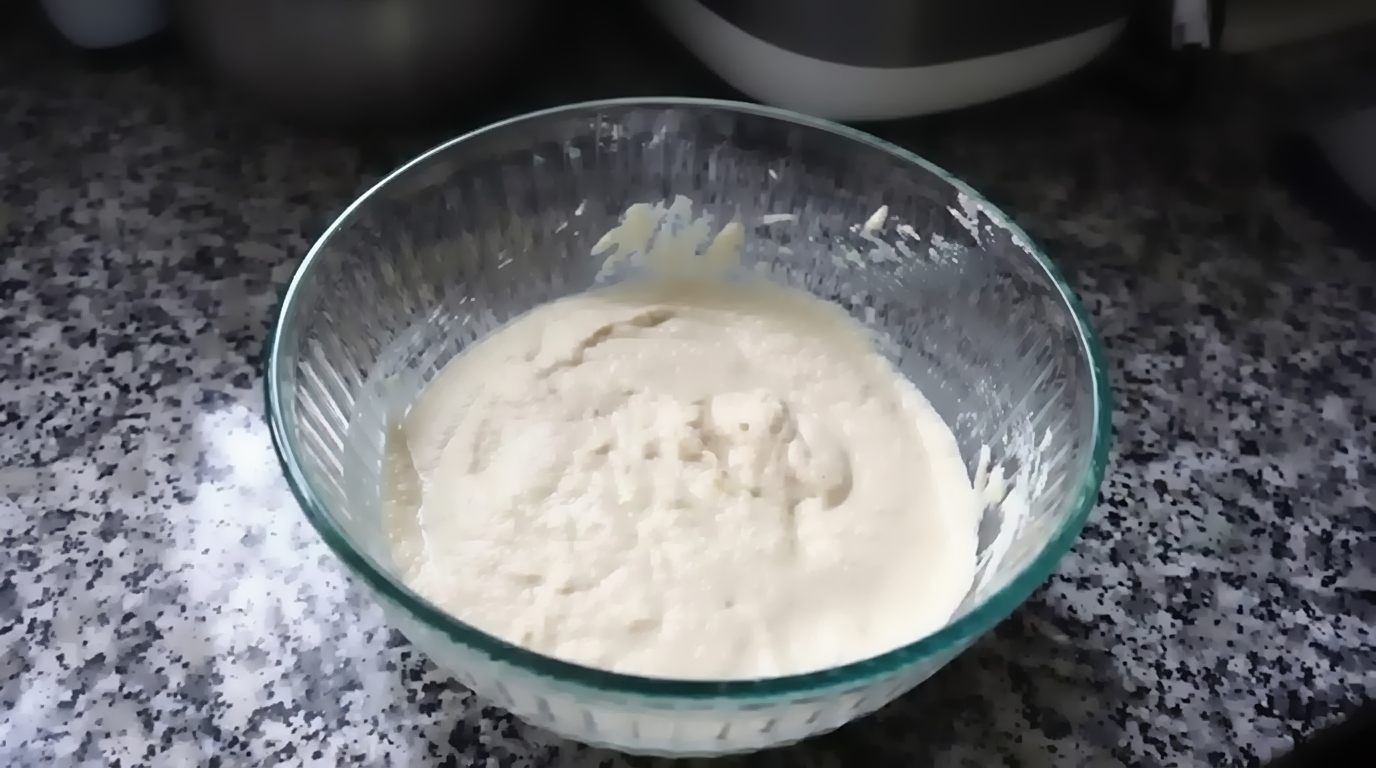
Step 6: Pour batter into a bowl and let rest for 10 minutes to allow starches to hydrate completely.
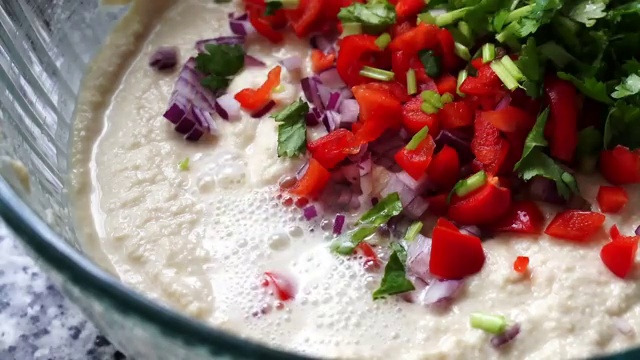
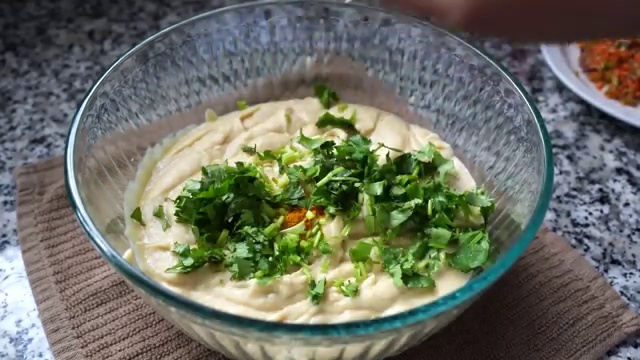
Step 7: Add ¼ tsp turmeric powder, finely chopped onion, red bell pepper, and fresh cilantro.
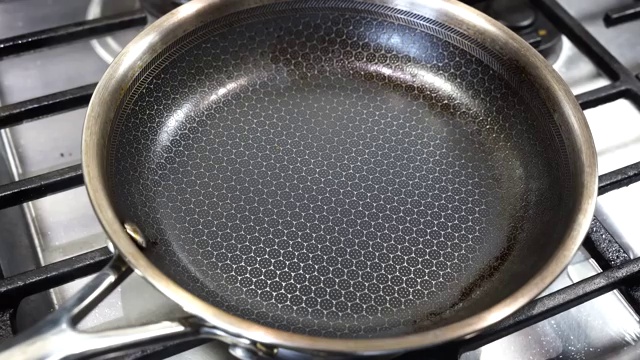
Step 8: Add ¼ tsp baking soda and ¼ tsp fresh lemon juice; stir gently to activate.
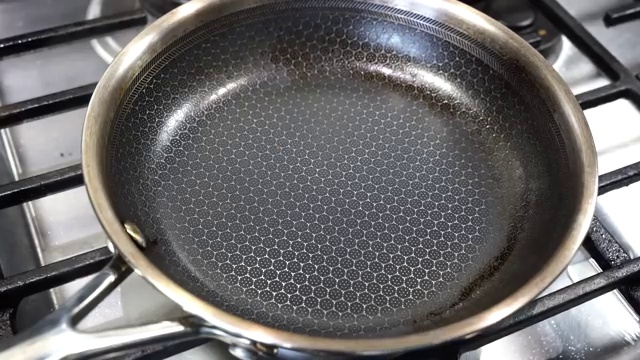
Step 9 (Optional Tadka): Heat 2 tsp oil in a small pan, crackle ½ tsp mustard seeds and ½ tsp cumin seeds, and pour into the batter; stir well.
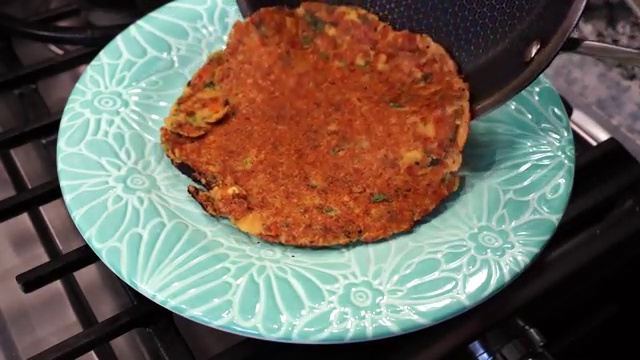
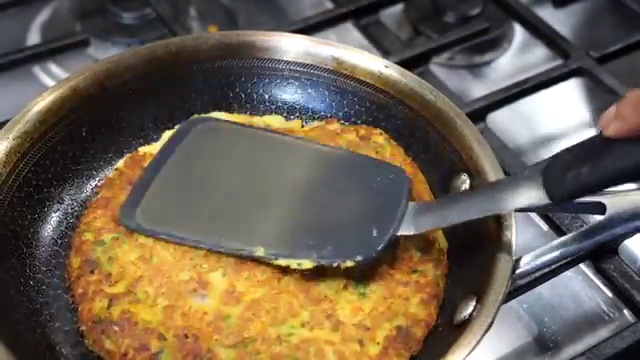
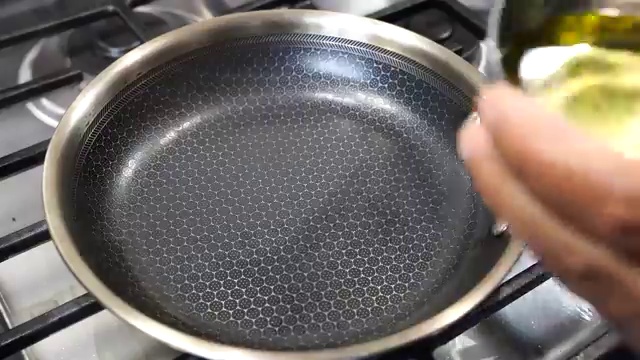
Step 10: Heat a non-stick pan over medium heat until hot, reduce to low, and lightly brush with oil.
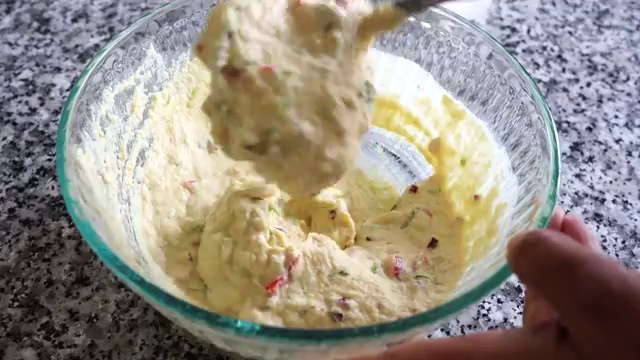
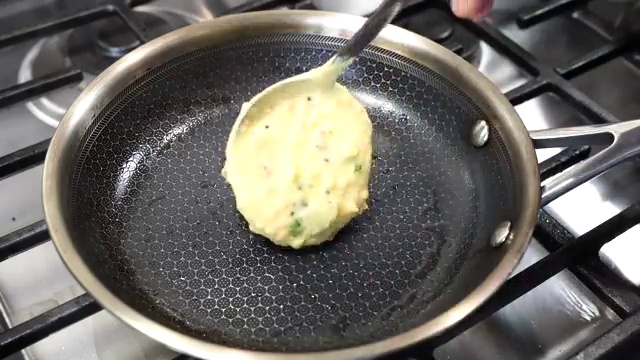
Step 11: Pour two spoonfuls (approx. ⅓ cup) of batter into the center and gently spread outward with the back of a ladle.
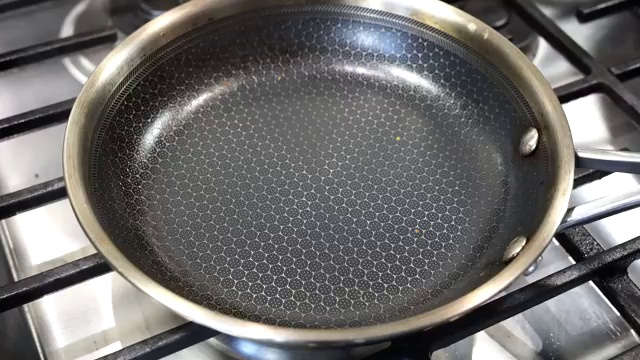
Step 12: Cover with a lid and cook on low heat for 2–3 minutes until the surface no longer looks wet and sets completely.
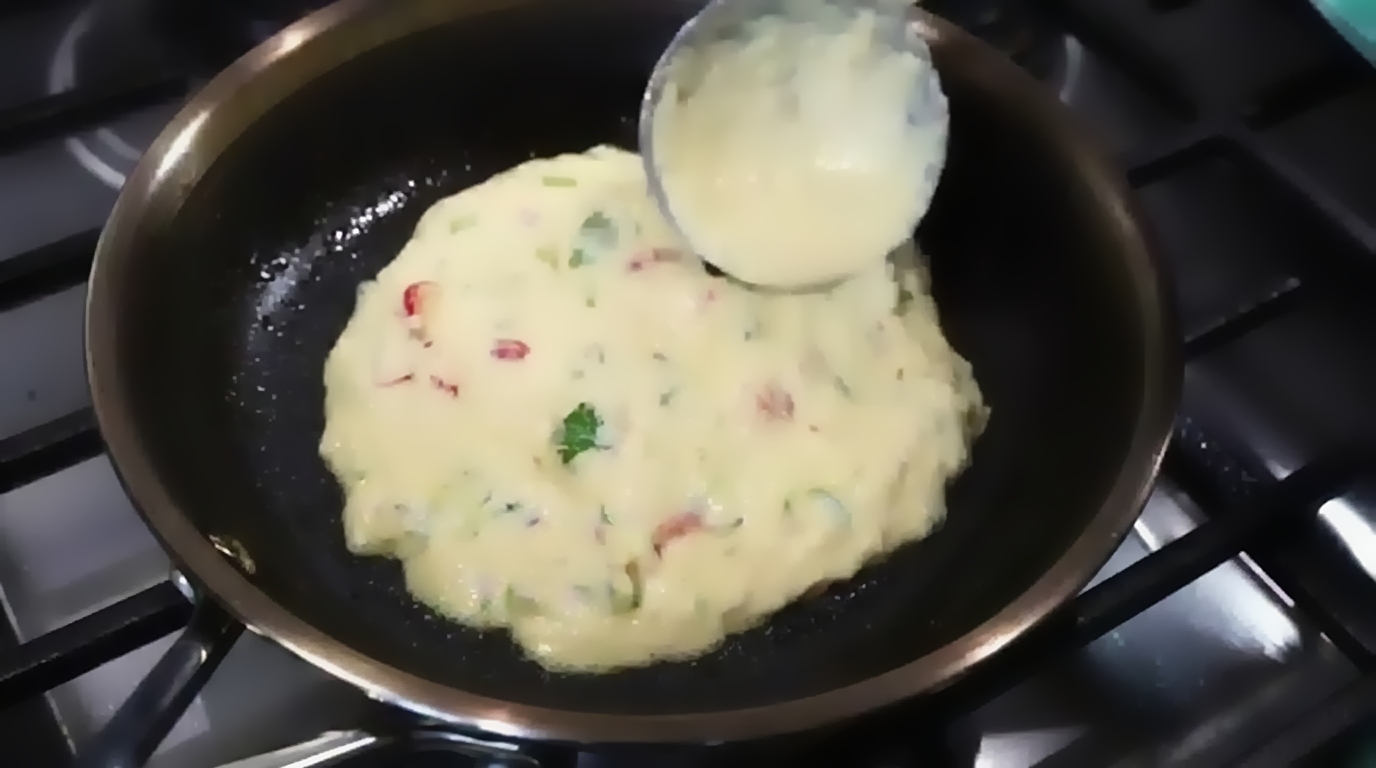
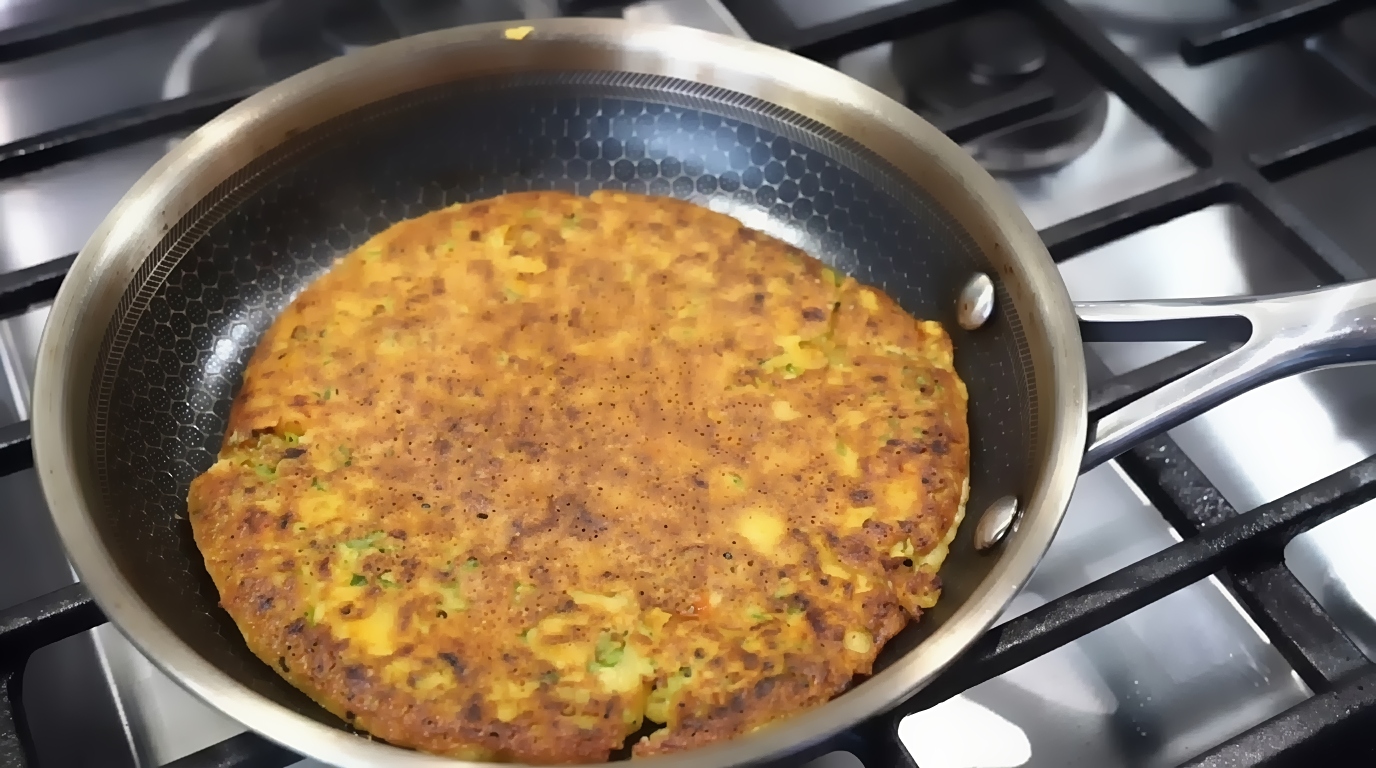
Step 13: Drizzle 1 tsp oil around the edges. Slide a spatula underneath and carefully flip the chilla.
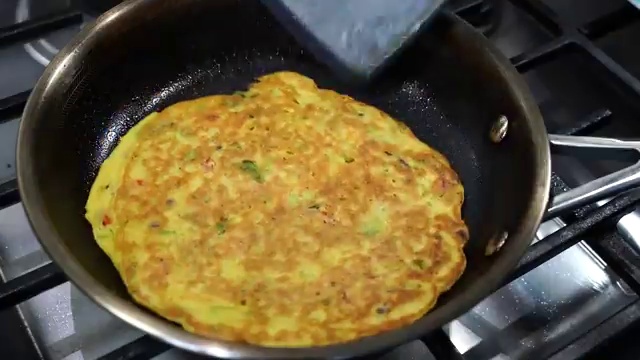
Step 14: Cook uncovered over medium-low heat for 2 minutes, pressing gently, until golden brown and crisp on both sides. Transfer to a plate.
Step 15: Repeat with remaining batter. Serve hot with yogurt, salad, and chutney!
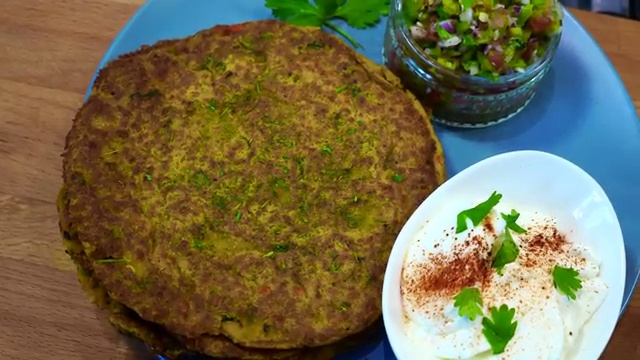
The Chef’s Secret to Structural Stability & Maximum Crispiness
The culinary difference between a soggy, fragile chickpea pancake and a restaurant-caliber crispy chilla comes down to two food-science principles:
- Raw Starch Gelatinization: When whole raw soaked chickpeas are blended, their starch granules remain intact until they hit the hot pan. During cooking, these starches gelatinize under heat and steam, creating a robust structural web that prevents tearing during flipping. Canned pre-cooked chickpeas have already lost this gelatinization capacity.
- The Rice Flour Crunch Effect: Rice flour is virtually 100% starch with minimal moisture absorption after cooking. Adding 3 tablespoons to the batter lowers oil absorption and yields a signature lacy, shattering edge that stays crisp even as the pancake cools.
What to Serve With Chickpea Chilla
These versatile savory pancakes pair seamlessly with an array of Indian side dishes, chutneys, and hearty mains:
- Chutneys, Pickles & Cool Dips: Serve with mint-coriander chutney, coconut chutney, garlic dip, and tangy green mango pickle (aam ka aachar).
- Compare with Other Indian Chillas: Try our protein-packed crispy moong dal chilla with vegetable and paneer filling.
- Hearty Vegetarian Curries: Scoop up rich bites of creamy simple palak paneer, restaurant-style masala tofu curry, Bengali dal bora curry with ridge gourd and potatoes, or Bengali-style rajma curry.
- Homestyle Lentils & Dals: Pair with a warm bowl of simple Bengali style masoor dal.
- Sautéed Vegetable Sabjis: Enjoy alongside Bengali potato and dill leaves stir-fry, crispy aloo beans dry sabji, Bengali aloo fulkopir tarkari, or rich aloo dum potato curry with green peas.
- Rice Dish Pairings: Complement with easy vegetable masala rice or crispy cauliflower Manchurian fried rice with garlic butter.
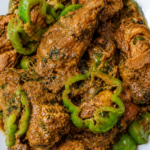
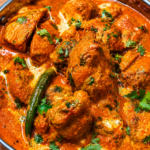
- Non-Veg & Seafood Main Courses: Serve as an appetizing starter or bread substitute with authentic Black Pepper Chicken (Murgh Kali Mirch), sizzling garlic pepper chicken stir-fry, ultimate butter chicken (murgh makhani), juicy chicken keema curry with potatoes, Bengali-style light chicken jhol with potatoes and vegetables, juicy oven-baked buttermilk chicken, authentic Goan chicken xacuti, crispy air fryer tandoori fish, or authentic Bengali macher jhal (spicy fish curry).
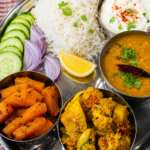
- Traditional Homestyle Thalis: Draw inspiration from our Indian plant-based home-cooked meal, daily Bengali dal, okra sabji & cabbage curry lunch thali, or an everyday Indian home-style meal.
- Sweet Finish: Conclude on a celebratory note with warm festive carrot halwa (gajar ka halwa).
Top Tips for Foolproof, Non-Stick Chillas
Keep these expert culinary pointers in mind for effortless flipping and crisp perfection:
- Always Use a Quality Non-Stick Pan: Ensures effortless flipping without requiring excess oil.
- Heat the Pan Thoroughly First: Get the skillet hot over medium flame, then reduce to low right before pouring batter.
- Do Not Overcrowd with Vegetables: Vegetables release moisture as they heat; keep vegetable additions finely minced and balanced.
- Wait for the Surface to Dry: Never attempt to flip a chilla while the top is wet. Cover with a lid for 2 minutes until the top is fully set.
- The First Chilla Rule: Treat the first chilla as your calibration test to check pan temperature, batter thickness, and salt balance.
Storing and Reheating Guidelines
Chickpea Chillas fit effortlessly into your weekly meal-prep routine:
- Batter Storage: The blended base batter can be refrigerated in an airtight jar for up to 24 hours. Do not add baking soda, lemon juice, or fresh vegetables until right before cooking.
- Cooked Chilla Storage: Cool completely and store layered with parchment paper in an airtight glass container in the fridge for up to 3 days.
- Skillet Reheating (Recommended): Reheat in a dry skillet over medium-low heat for 1–2 minutes per side to restore original crispiness.
- Toaster Oven / Air Fryer: Warm at 350°F (175°C) for 3 minutes for ultra-crisp edges.
Frequently Asked Questions
Can I use canned cooked chickpeas?
It is not recommended. Canned cooked chickpeas contain pre-gelatinized starches and high water content, resulting in a fragile batter that easily breaks when flipped. Soaked raw chickpeas provide the necessary structure.
Can I substitute chickpea flour (besan) for rice flour?
You can, but rice flour provides critical crispiness. If substituting, use cornstarch or tapioca starch to retain that crispy outer crust.
Can I make these without coconut milk?
Yes! Replace the coconut milk with plain unflavored yogurt (or plant-based yogurt), or use equal parts water and 1 tablespoon of olive oil.
Are these chillas suitable for freezing?
Yes! Freeze cooked chillas separated by parchment paper in a zip-top freezer bag for up to 2 months. Reheat directly in a toaster or dry skillet.
Gluten-Free Chickpea Chilla Recipe Card & Cooking Summary
Gluten-Free Chickpea Chilla (Kabuli Chana Chilla)
Savory, crispy Indian chickpea pancakes made from soaked whole chickpeas, rice flour, coconut milk, and colorful veggies.
Prep Time: 15 mins (+ 8 hrs soak) | Cook Time: 20 mins | Total Time: 35 mins | Servings: 4–5 (6–8 chillas) | Cuisine: Indian | Diet: Vegan / Gluten-Free
Ingredients Summary
- 1 cup dried chickpeas (soaked 8–10 hours)
- 1 small piece fresh ginger & 1 green chili (optional)
- 3 tbsp gram flour (besan) & 3 tbsp rice flour
- ¼ cup thick coconut milk & ½ cup water (plus more as needed)
- 1 tsp salt & ¼ tsp turmeric powder
- ¼ tsp baking soda & ¼ tsp fresh lemon juice
- 1 small onion (finely diced), red bell pepper (diced), fresh cilantro
- Oil for cooking + Optional Tadka: 2 tsp oil, ½ tsp mustard seeds, ½ tsp cumin seeds
Quick Instructions
- Drain and rinse soaked chickpeas. Blend with ginger, green chili, gram flour, rice flour, coconut milk, water, and salt until completely smooth.
- Rest batter for 10 minutes. Stir in turmeric, diced onion, bell pepper, and cilantro.
- Add baking soda and lemon juice; stir gently. (Optional: sizzle mustard and cumin seeds in 2 tsp oil and stir into batter).
- Heat lightly oiled non-stick skillet over medium-low heat. Add 2 ladles of batter and spread into a round pancake.
- Cover and steam for 2–3 minutes until the surface is dry. Drizzle oil around edges and flip.
- Cook uncovered for 2 minutes until golden brown and crispy on both sides. Serve hot with yogurt and salad!
A Golden Crispy Superfood Pancake for Any Time of Day
These Gluten-Free Chickpea Chillas prove that wholesome plant-based eating can be spectacularly crispy, deeply flavorful, and remarkably simple. With golden lacy edges, a tender savory center, and a vibrant rainbow of fresh vegetables in every bite, they are bound to become a beloved staple in your kitchen.
Soak a batch of chickpeas tonight and treat yourself to a nourishing, high-protein breakfast or lunch tomorrow. Pair them with cool yogurt and your favorite homemade chutney, and enjoy pure crispy perfection!